Sunday, March 13, 2011

The buddy baker

I bought a tutorial on character animation from Blender Cookie dot com. It comes with a fully rigged character ready to go and the whole thing focuses on just character animation in blender. This is good because all the tutorials I have ever looked at regarding pretty much any sort of animation have been for maya. Not only that but all the blender tutorials I have ever seen that deal with character rigging are for previous versions of blender. Doesn't seem like such a big deal but when you don't know where all the bells and whistles are, it is. Especially when they change the locations of the bells and whistles from one version to the next. Not to worry, I have puzzled on and my patience has paid off in the form of the above... This is Baker. The blender cookie character animation test subject.
Well, not exactly like this. The actual Baker is orange. See, in my natural procrastinatory fashion, I'm more interested if I can make him look like a porno star than actually investing time making him do things. I mean you could argue that making him behave like a porno star (and all that that entails) would be more beneficial than trying to make him look like a muppet and I would probably agree with you. But what are you going to do?  I was curious if I could change his appearance and I could. Neat. Undoubtedly, further and more graphic updates will follow.

Saturday, March 12, 2011

Pete's colour treatment

It's still lacking a bit of vibrancy but its coming along. I really want to make the image pop off the page. I think the simple gradient background will help with this but I have to make the colour of his face darker and richer. The problem is that the reference image I have, Pete doesn't look the best. I mean he never looked all that robust but this photo really doesn't do him any favors. I might just have to ignore the reference from this point in. Big fun.

Friday, March 11, 2011

Pete but from a slightly different angle

Ok so I just flipped him around for a different look. This is a very helpful technique, kind of like a splash of cold water to wake up the brain. The problem is that it highlights all the glaring errors that you have have adjusted to. I haven't done it for this painting for a while, it was a shock. I have fixed some of the more glaring mistakes but yeah, his cheeks were all skew whiff and I'm still not sure about his jawline. See, this is why you need to flip it more often, so that you fix the mistakes before you get too far along with the rendering. Oh well, I'll see how it looks in the morning. Ahh, the weekend. Time to put the paint brush down and focus on all things animation.

Woohooo!! Blender!!!!

Thursday, March 10, 2011

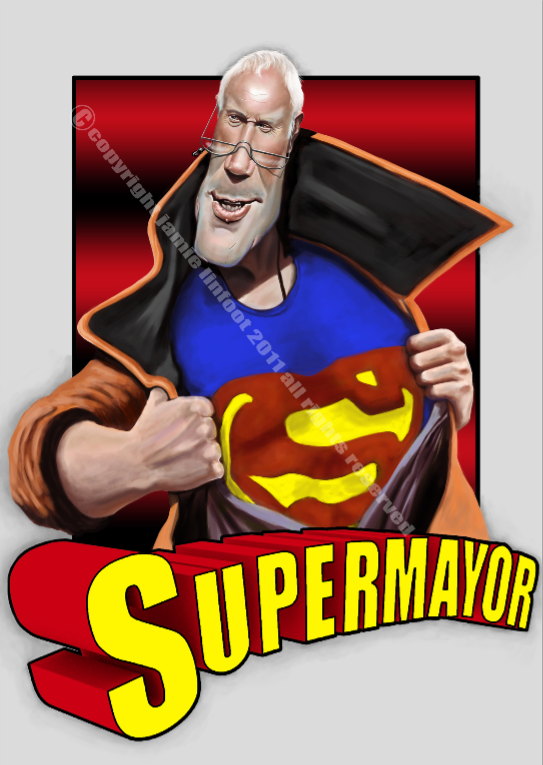
The finished Bob


It's finally done. It's printed out on thick linen card and it looks amazing. Link to the trademe page where you can bid to own this fine piece of work.
All proceeds to the Red Cross.

Another organ


Tonight a heart, tomorrow a brain. After that, maybe courage and a pair of ruby slippers.

Brought to you in technicolour

So this is the progress of Bob Parker. I'm really happy with it at this point. I'm open to suggestions for the background. It needs to be simple elegant and above all, quick. Want to get this done and off to the printers.

Wednesday, March 9, 2011

Organs

Did you know that there are people out there who get to draw internal organs as their job. As cool as it sounds I doubt that terribly easy. The question I've always had is, how do you get a job like that? Who would pay for it? Why would they pay for it? Still, being able to draw bones and organs is pretty cool and the scratchboard tool in painter is a neat little pen to play with when sketching organs so it makes for a funky little doodle before bed.